How To Sew A Straight Line On A Sewing Machine
Did you know that the bulk of sewing is done in a straight line? Whether you are sewing a pillowcase, a wedding dress or even a couture gown, straight lines are used to construct them all. To learn to sew, you will need to perfect the art of sewing a straight line. Perfection will come with practice so trust the process but don’t rush it!
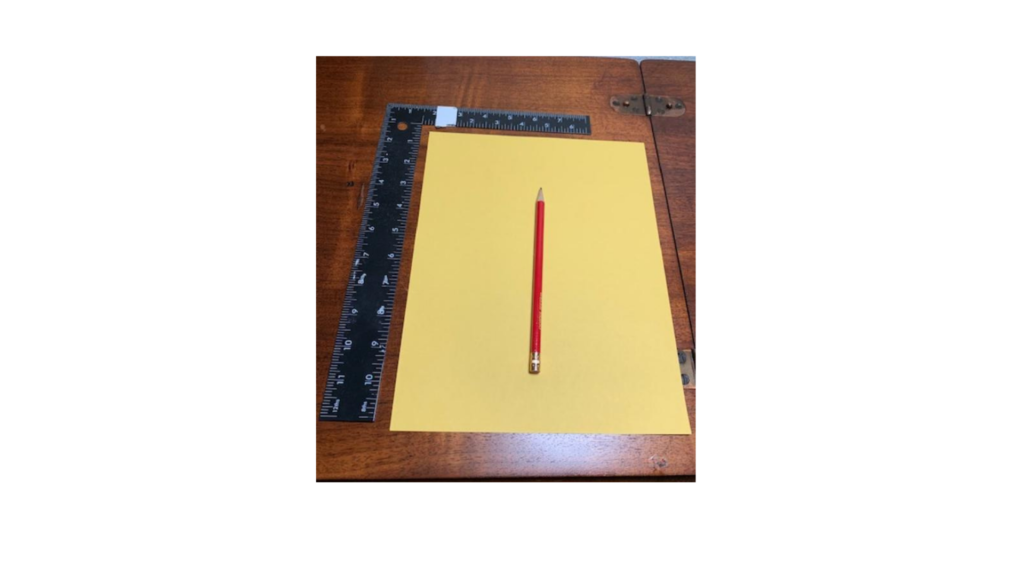
Tools Needed To Sew A Straight Line
- Sewing Machine
- Lined Notebook Paper / Blank Paper
- Ruler or Straight Edge
- Pencil/Pen
- Sewing Machine Needle
If using a blank sheet of paper, you will need to mark some lines with the ruler and a pen/pencil. There’s no need to get fancy and the lines do not need to be uniform. The only requirement is for the lines to be reasonably straight. If you want to give yourself a bit of a challenge, create a simple maze.
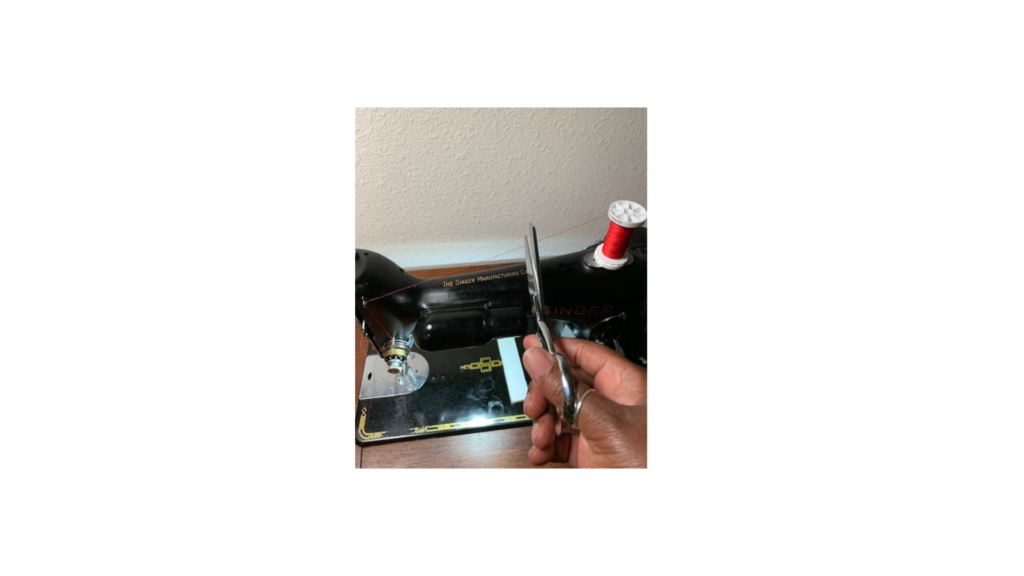
Set Up The Sewing Machine
If the sewing machine is threaded, you will need to unthread it. Cut the thread at the spool and pull the thread down and through the sewing machine needle. Always pull the thread down towards the base of the machine to keep lint and loose threads away from the moving parts. You can remove the bobbin from the bobbin case to keep the thread out of the way.
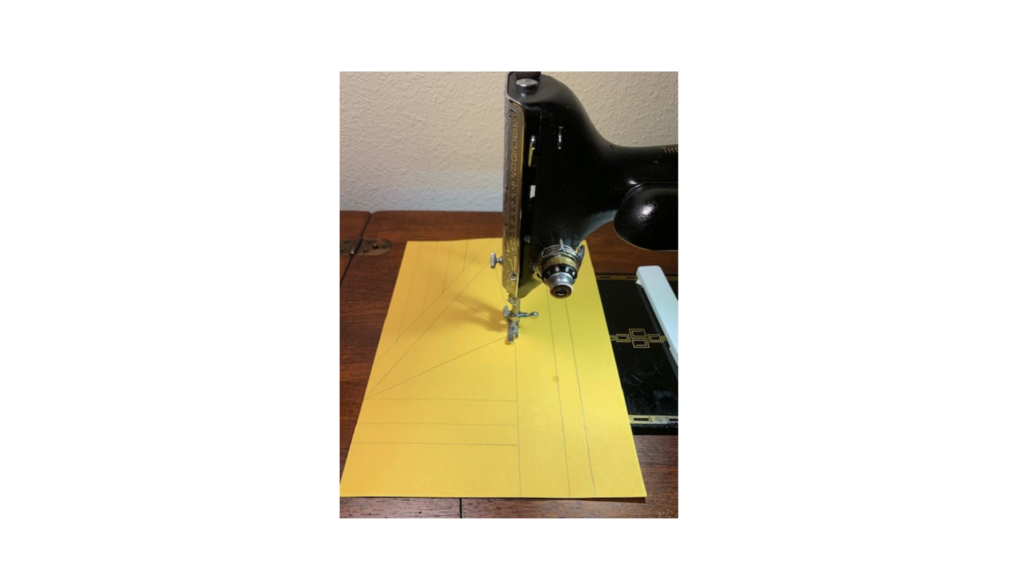
Get Ready To Sew Straight Lines
Choose your starting point on the prepared paper and place it lines up between the presser foot and the feed dogs. Lower the presser foot and gently press the foot pedal to start sewing. Gently place your hands on either side of the paper to guide the paper as you sew. As the machine is unthreaded, you will be creating small perforations on the paper.
Practice, Practice, Practice!
The object is to use the lines on the paper as your sewing guide. Practice sewing from one edge of the paper to the center and then to the other side. Don’t feel like you need to speed through the process. You want to maintain a basic speed to keep the paper moving and your stitches directly on the line. If you veer off, that’s fine. Just keep going until you get comfortable with the motion of the machine and the movement of your hands.
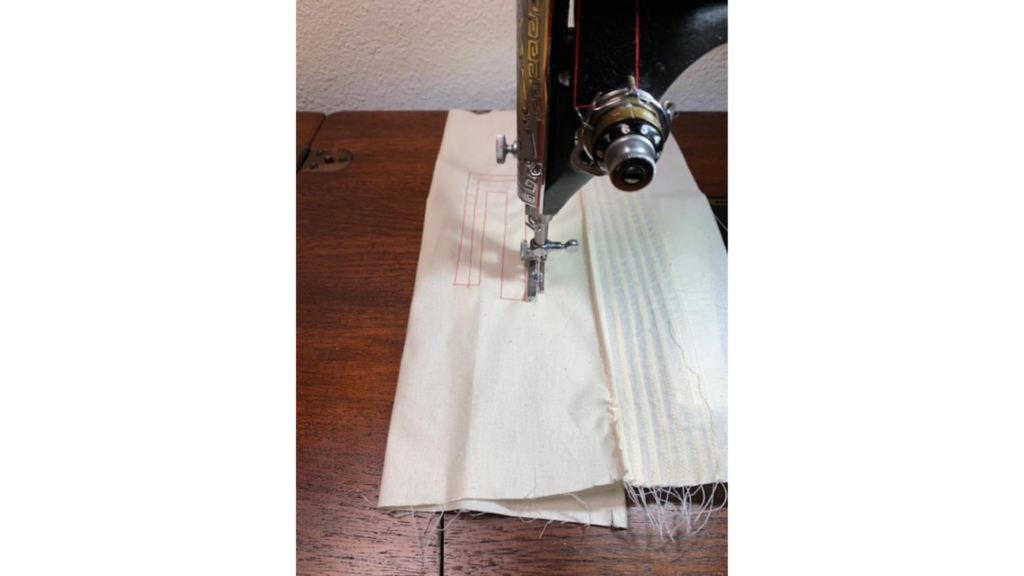
Sew A Straight Line With Fabric
Once you have practiced on paper and mastered sewing straight lines, why not try practicing on fabric? You will need to re-thread the sewing machine and the bobbin case. Fabric will behave differently to paper but the process of sewing the lines will be the same. You can choose to mark lines on a piece of scrap fabric but you really don’t need to. Try sewing random squares, rectangles or if you feel fancy, triangles.
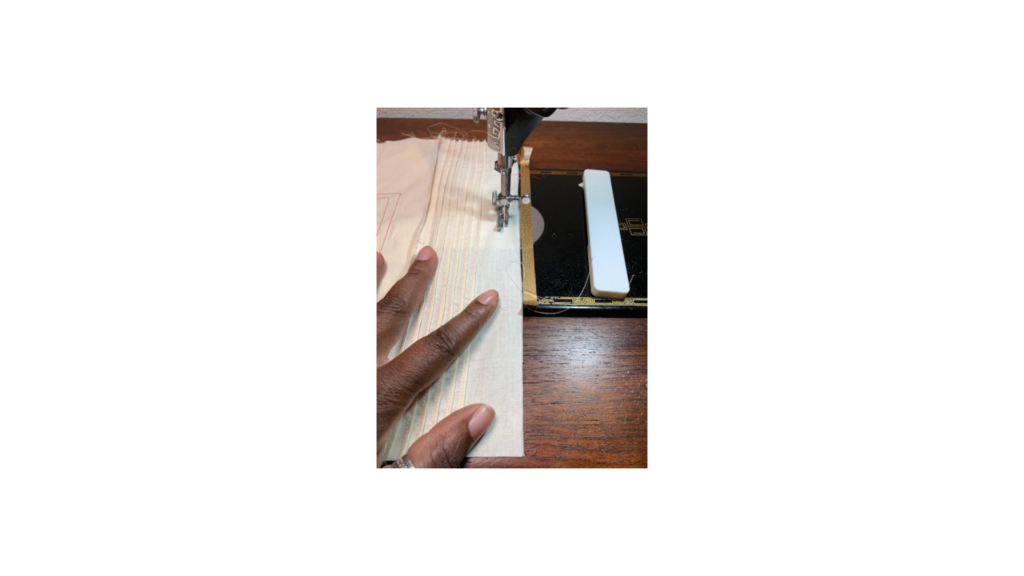
Practice Using The Guide Lines On Your Sewing Machine
Next you can practice on fabric using the lines on the throat plate of the sewing machine. Most modern sewing machines have a series of lines pre-printed on the throat plate as a seam allowance guide. The lines are also useful to keep your stitching straight. If your sewing machine does not have seam guide lines, you can use a piece of washi tape/masking tape to create your own seam guide lines.
Conclusion
Now that you’ve mastered sewing in a straight line, why not try some curves? Practice sewing with the machine unthreaded and then rethreaded as before until you are just as comfortable sewing curves as you are sewing lines. If you make a mistake, give yourself some grace and just keep stitching. Remember, every stitch can be corrected with a seam ripper.