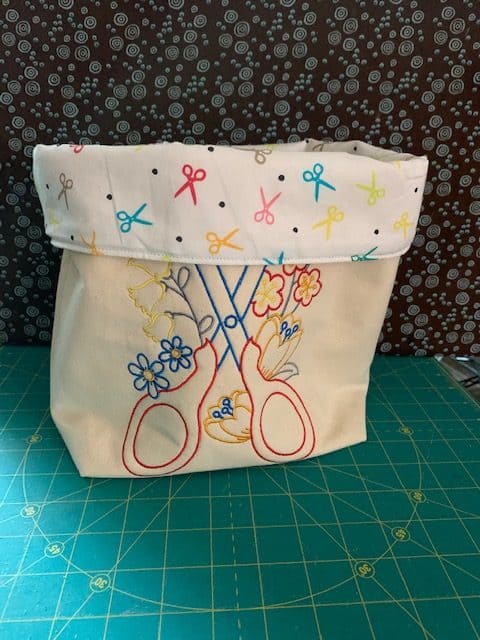
How To Sew A Fabric Storage Basket
One of the best and easiest ways to get acquainted with your new sewing machine, is by sewing something simple and practical. How about learning how to sew a fabric storage basket?
Fabric baskets can be used in any room of your house and require very little fabric. Best of all, there are loads of straight lines for you to practice.
Once you start sewing them, you’ll find that you find excuses to make one for everything.
How Do You Make A Basket Out Of Fabric?
A fabric basket is made by sewing together two small flat bags separately. Both bags are then sewn together with a layer of batting or fusible fleece sandwiched between.
You can make any variation of the basket: square, rectangle or cylinder. I suggest starting out with either a square or rectangle for your first few baskets. Once you are comfortable, you should definitely branch out to making a cylinder.
How Do You Make A Fabric Basket Sturdy?
Funny enough, you make the fabric basket sturdy by using more fabric. I use cotton batting because I always have some on hand. Fusible fleece works just as well.
You also want to choose a sturdy fabric like canvas, duck cloth or denim for the exterior. If you want your exterior/interior to be a print, quilters cotton is an excellent choice.
Any woven fabric will work as your exterior as long as you have batting or fleece as the inner structured layer. Flexible foam or stabilizers typically used in bag making and will provide excellent structure to the basket.
For extra strength, you can quilt the exterior fabric to the structured layer to form a single sheet of fabric. Not only is this sturdy, it is also quite beautiful.
Supplies Needed
½ yard exterior fabric
½ yard interior fabric
½ yard cotton batting or fusible fleece
Marking tool/pencil
Sewing machine
A walking foot is preferable but is not a requirement
90/14 universal sewing needle
Temporary fabric spray glue
Matching thread
Scissors
Iron
Rotary cutter
Rotary mat
Quilter’s ruler or a regular ruler
Cutting Instructions
You can make the basket to be any size you want. I’m using 15”x15” squares in this example. Fold your fabric in two for easier cutting. Fabric baskets may not be a garment but you still want to practice good cutting techniques.
Measure and mark the basket dimensions directly on the fabric using a marking tool and a ruler. This is not strictly necessary but it helps.
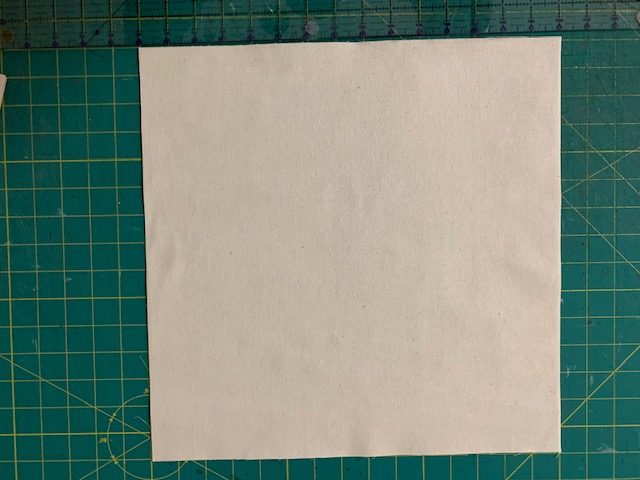
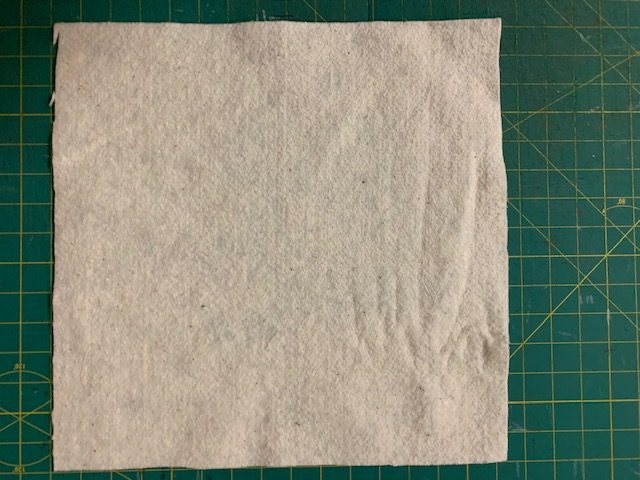
Cut two pieces of the exterior fabric. Cut two pieces of the interior fabric. Cut two pieces of the cotton batting/fusible fleece/foam.
Prepare The Exterior Fabrics
If using either fusible fleece or fusible foam, fuse them to the exterior fabric using a hot iron. Make sure that the glue side is facing the wrong side of the exterior fabric.
Trust me, you do not want the glue anywhere near the faceplate of your iron! If you are using batting, spray a thin layer of glue to the batting.
Carefully place the one of the exterior pieces on top of the batting. Using a hot iron, press the right side of the exterior fabric to the batting. Although the glue is temporary, the iron will get rid of any air pockets and minimize bubbles.
Embellishments Maybe?
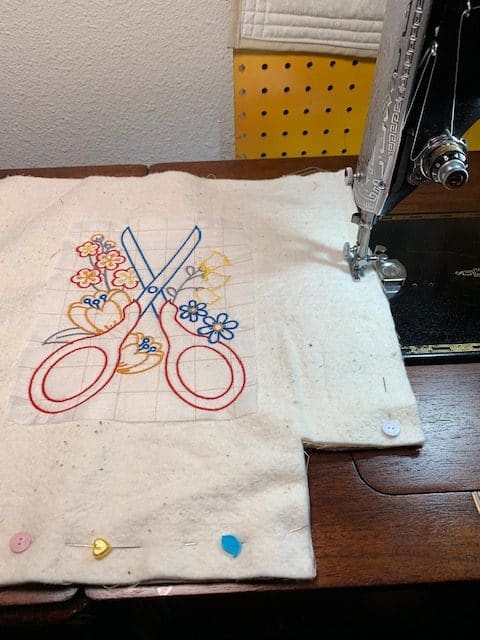
If you want to add any embellishments to the basket, now is the time to do it. You can use any combination of embellishments to make the basket your work of art.
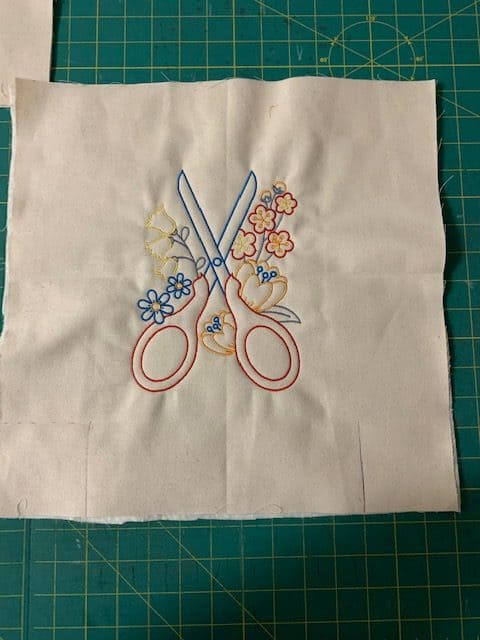
Machine Embroidery
Whether it’s a simple hand embroidered design or it’s a complicated machine embroidered design, now is the time to do it. I typically use my embroidery machine to stitch out a design that corresponds with the fabrics that I am using and/or the purpose of the basket.
Quilting
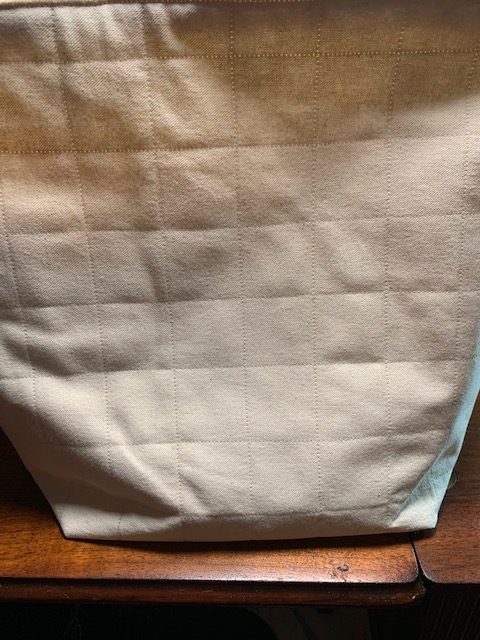
If you choose to quilt the exteriors, you can be as creative as you like. A good option to use is a series of straight line quilting or even a series of swirls.
I tend to keep it simple by using straight line quilting. To keep your spacing consistent, mark the quilting lines on the both exterior pieces.
Iron On Vinyl
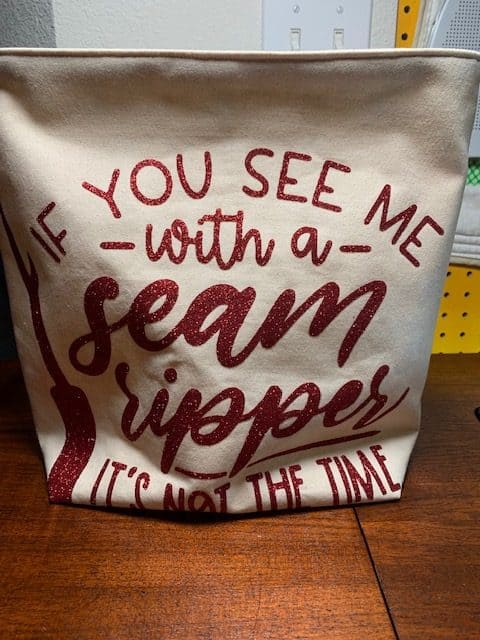
Iron on vinyl is also a good option to decorate the exterior of the basket. As with fabric, you can be as creative as you want with vinyl.
Sew The Exterior Fabrics
Next, you’re going to sew up the exterior. Place both exterior pieces right side together. Be careful to have the pieces facing right side up if you created an embellishment or if you have directional fabric.
Pin all around both sides and the bottom of the bag. Using a ½” seam allowance, sew all around the pinned edges. Press the seams open. Place the sewn exterior aside for now to work on the lining.
Make The Lining
Place the lining pieces right side together. Again, if you have directional fabric, make sure they are right side up. Pin all around both sides and the bottom of the bag.
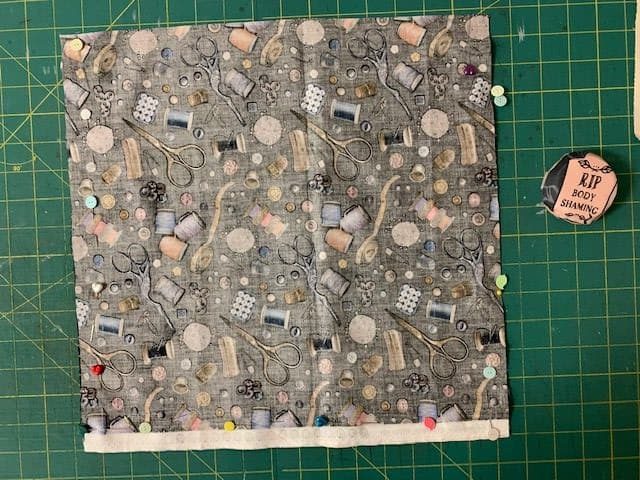
In order to turn the finished bag inside out, leave a 7” opening at one of the sides or the bottom. Don’t worry, it doesn’t matter which edge you choose to leave open, you just need an opening large enough to pull the exterior through. Press the seams open.
Box The Corners Of The Fabric Basket
Now you need to transform the flat bags to a three dimensional bag or basket. You will do this by boxing the corners. To box the corner, determine how wide you want the bottom of the basket to be.
A larger corner will result in a wide base on the bottom of the basket and reduce the overall height. 2½”- 3” is a good option to use for this medium sized basket.
Pre Cut The Corners
Box the corners by pre-cutting out a 2 ½” square on both the interior and exterior pieces. For each corner, place the side seam and bottom seam together making sure that both seams are flush.
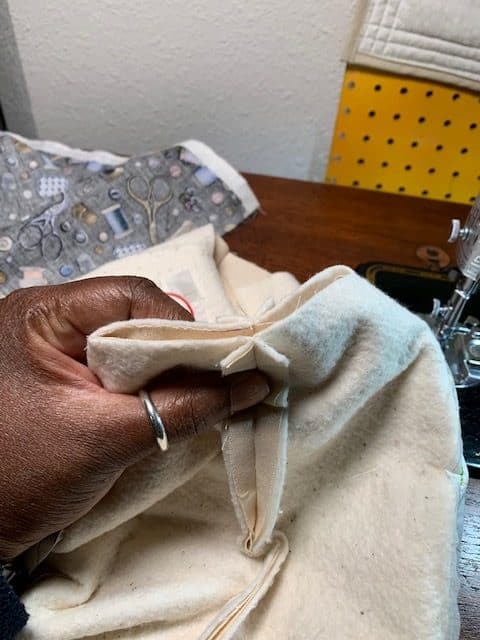
Pin and sew both corners. Repeat on the lining pieces.
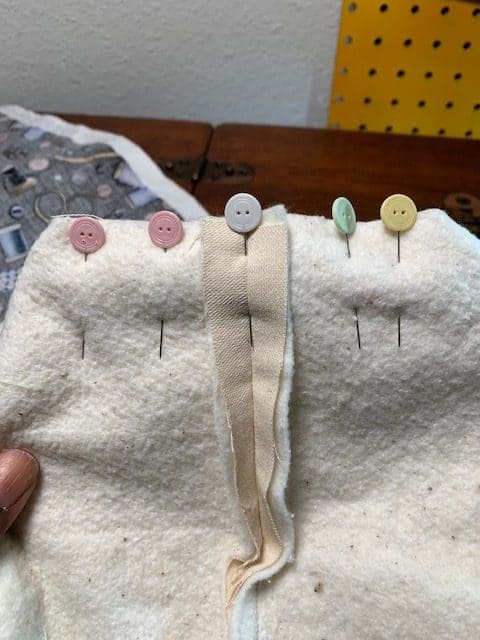
Sew Then Cut The Corners
You can also box the corners of the bags before you cut it. Place the side and bottom seams together making sure the seams line up.
Measure in 3” from the corner and pin. Draw a perpendicular line that intersects the 3” measurement. Double check that your seams are still aligned.
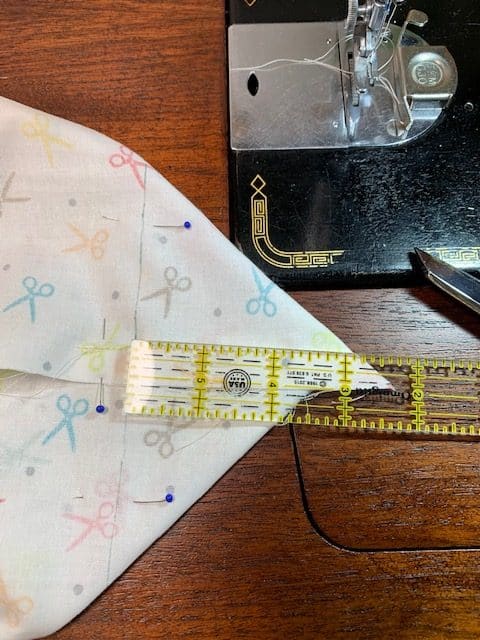
Pin from the center out to maintain the alignment. You will then sew directly on the drawn line. Repeat for all corners.
Finally, cut off the excess leaving a ¼” – ½” seam allowance.
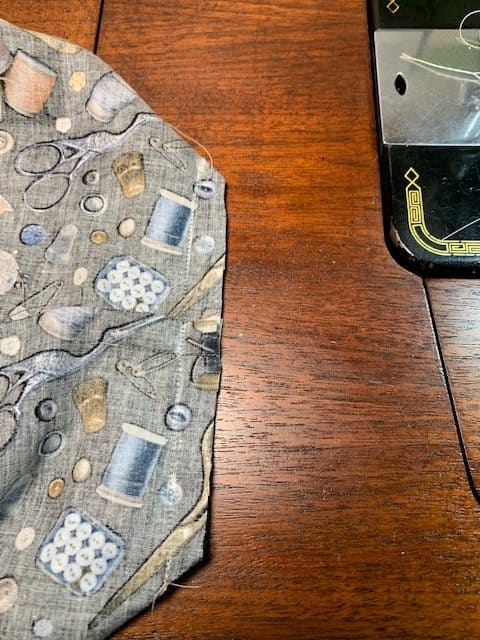
Finish Up The Fabric Basket
Leave the exterior bag wrong side out. Turn the lining right side out. Place the bags right side together making sure to line up both seams.
Pin then sew all around the top of the bag. Once complete, pull the lining out of the exterior completely. Next, reach through the opening of the lining again to pull through the exterior bag right side out. Both bags are now attached at the top and should now be right sides out.
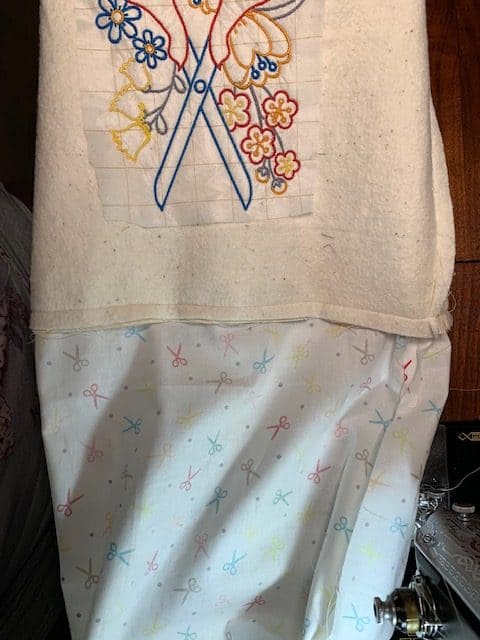
Using the hole in the lining, poke out the corners of both the lining and exterior. You can use a chopstick, knitting needle or anything that will fit in the corners. You could use scissors to poke out the corners in a pinch.
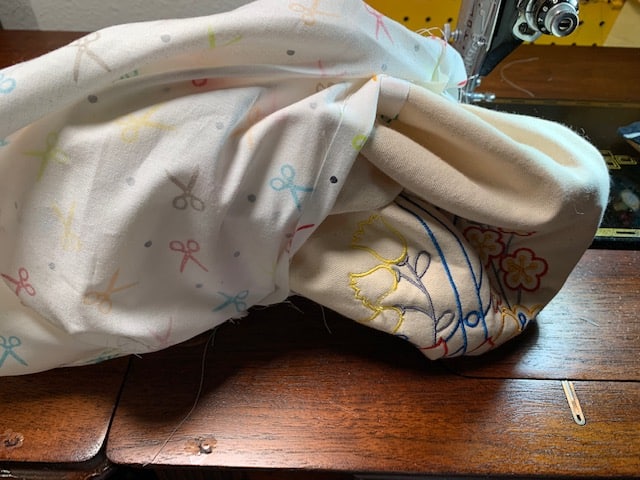
Just be very careful you don’t bust through the stitches or you’ll be very sorry. To close up the hole in the lining, fold the seam allowance inward and pin. You can either sew up the opening by hand or by using the sewing machine.
Once complete, push the lining into the exterior. You have created a fully lined basket with enclosed raw seams! Before you get all excited, press the bag using the end of the ironing board.
Use steam especially around the lip of the basket to help flatten the seams.To finish, sew an ⅛’ away from the edge of the basket to ensure that the lining stays inside the basket. Fold the edge of the basket down to expose the lining and give it one final press!
Fill Up Your Fabric Storage Basket
You’ve finished a fabric storage basket! I’ve filled mine with sewing items that I need close on hand. You may choose to fill yours with coffee supplies in the kitchen, hand towels in the bathroom or even toys that kids like to leave lying around on the floor waiting to be stepped on.
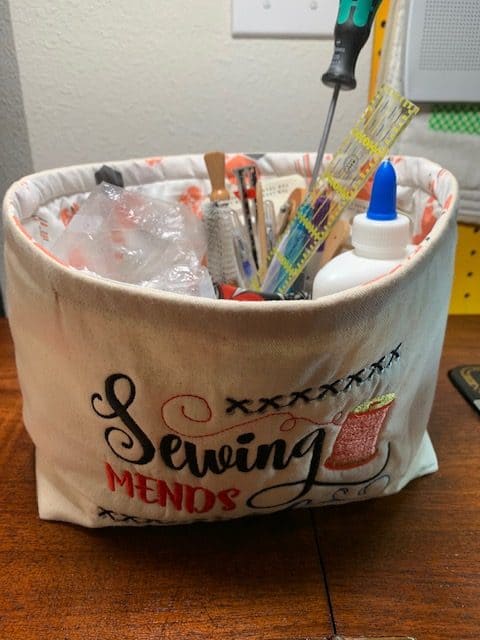
Whatever you decide to use your fabric storage basket for, chances are you will not be able to make just one.
Happy sewing!

