How To Lower The Bust Point On A Princess Seam
Does your princess seam sit right over your bust? Do you have excess fabric in the upper bust? How on earth do you fix this? Now is the best time to learn how to lower the bust point on a princess seam.
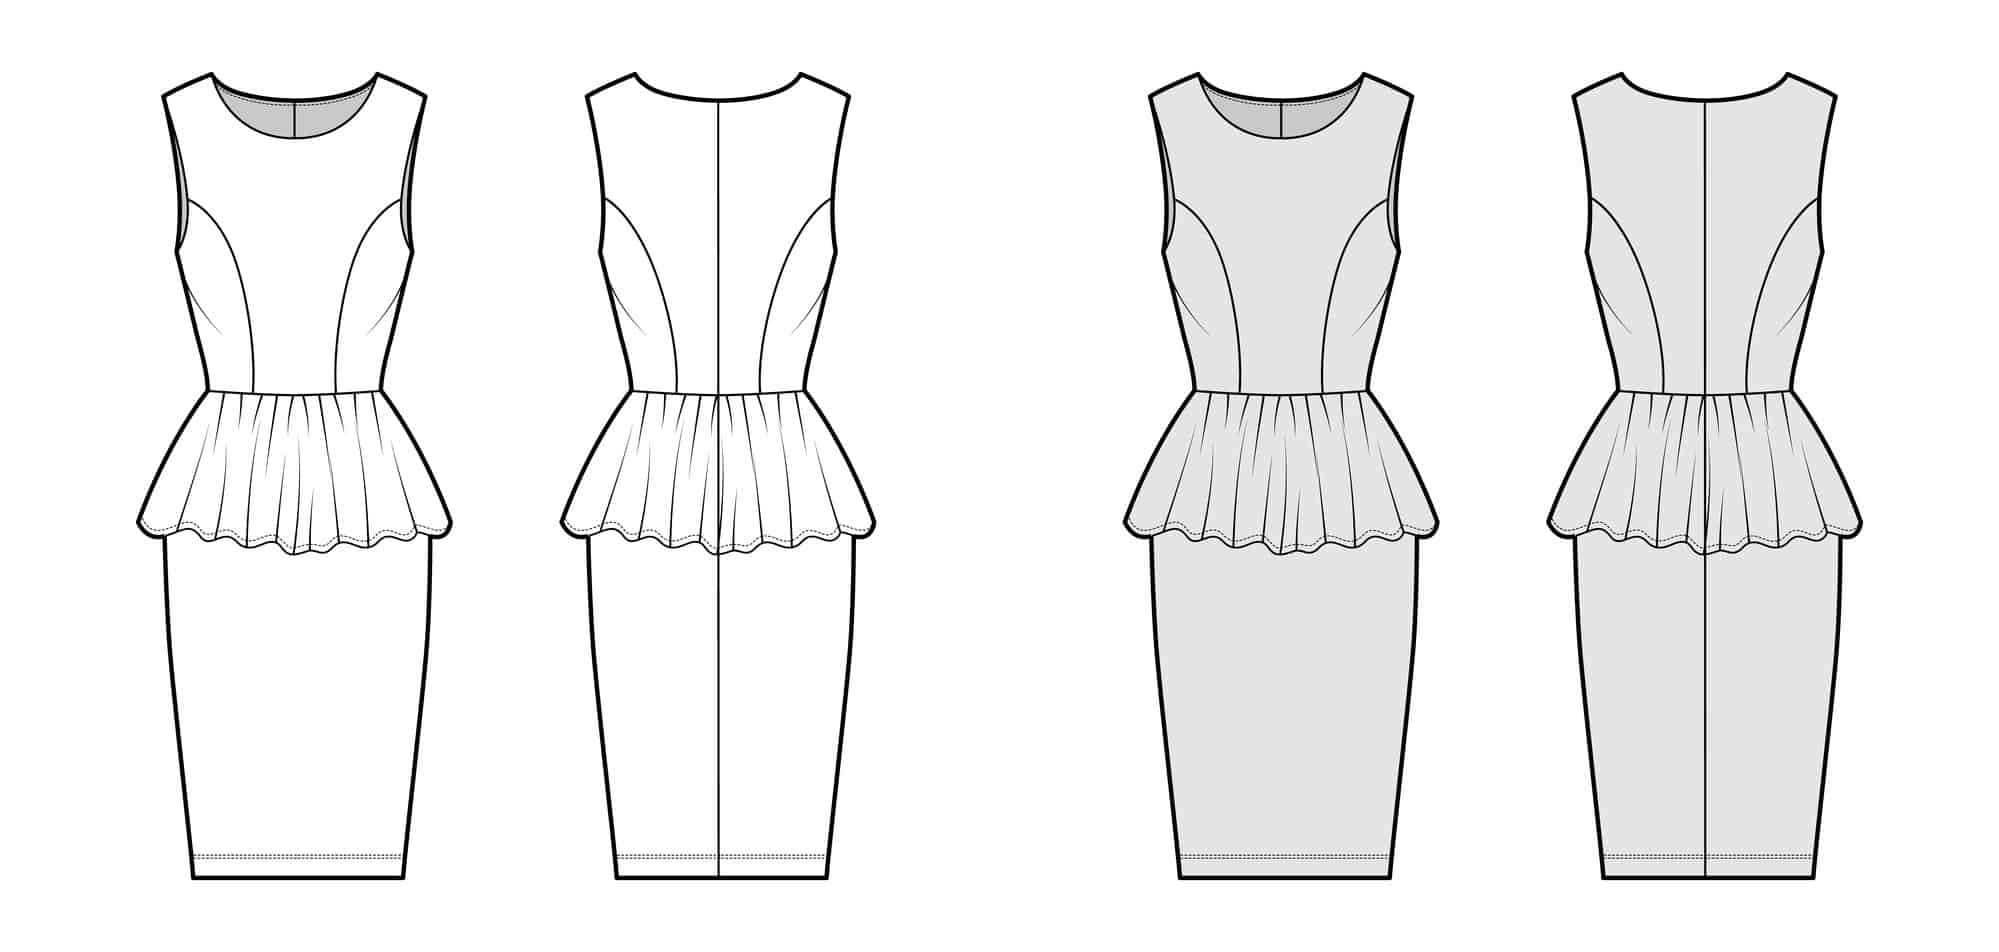
What Is A Princess Seam?
A princess seam is a combination of the bust and waist darts. It is used to provide a single line of shaping from either the shoulder to the waist, from the armscye to the waist or from the upper chest to the waist.
Princess seams provide a flattering fit to the garment without the bulk created by darts. For an in depth review on darts and how they work, check out the darts post.
Princess seams are created by joining two separate pattern pieces; center front and side front.
Princess seams that are on the back of the bodice, are created by manipulating the back waist darts. Typically the princess seams on the back of the garment are less problematic to fit than the front.
Where Should Princess Seams Lie?
A princess seam should flow from the beginning of the seam, curving over the center of the bust to the waist. When properly fitted, there should not be any puckering or excess fabric above the fullest part of the bust.
On most patterns, the bust point is drafted much higher than is needed for the average person. If there is excess fabric in the upper bust area, this is an indication that the bust point will need to be lowered.
Do not be tempted to just cut away the excess fabric as this will not fix the problem. The solution is to adjust your
Once you move the bust point down, you will have room to encompass the entire breast creating a better fit.
Why Should You Lower The Bust Point For A Princess Seam?
Sewing patterns are often drafted with the bust point much too high on most bodies. If you have a larger bust and you’re older than a teenager, you need to lower the bust point. This in turn, lowers the fullness in the princess seam to provide a better fit.
If your bust point is higher than what the pattern is drafted for, you can raise the princess seam as well. The process to raise or lower the princess seam is the same.This post will focus on lowering the princess seam as an example.
As bodies are different, it is impossible to determine how much to lower the bust point without either making a muslin or measuring yourself.
Using a tape measure, stand upright as you would when taking measurements, measure from your shoulder down to your apex. As a reminder, make sure you take this measurement wearing the bra you intend to wear with the finished garment.
Compare your bust point to the bust point on the center front pattern piece. Use this information to determine how much you need to lower the bust point.
How To Lower The Bust Point For A Princess Seam?
The process of lowering the bust point on a princess seam is similar to lowering it for darts. You can read more about lowering the bust dart here.
To lower the bust point on a princess seam, the adjustment is made to the center front and side front pattern pieces. The pattern pieces have registration marks or notches to aid in lining up the garment for sewing.
Prepare The Pattern
These notches are also essential in lowering the bust point. To start, place both pattern pieces face up on a flat surface. Smooth out all wrinkles if you’re using a tissue paper pattern.
You want the curved seams that will be sewn right next to each other. This will make the next step much easier and minimize room for error.
If you have a gridded cutting mat, now is the time to put that puppy to use. Secure the pattern pieces to the surface using pattern weights or tape.
Use a straight edge or ruler and a pencil to make a box around the fullest part of both pattern pieces. The size of the box must be equal in length and cover at least two of the pattern notches.
Cut Out The Pattern
Next, cut out the box and move it down by the desired amount and tape it to the pattern piece. Repeat the steps on the other pattern piece. Now that you’ve moved the fullness down to where you need it, grab some paper and patch the holes on both pattern pieces.
Now you will need to true up or smooth out the lines on both pattern pieces. It is much easier to true up the side front as the pattern piece is not overly curvy. You can free hand the line to match the new curve to the original curve.
True Up Center Front
The center front pattern piece can be a little trickier to adjust in that you might be tempted to stay as close to the old curve as possible. Remember that you moved the fullest part of the curve down so you will no longer need to have all that extra space in the upper bust.
You can try to freehand the new curve to the original but it’s best to use a french curve to be more precise. Don’t freak out if the new pattern piece looks a bit like Frankenstein – that’s totally fine. All that matters is you’ve moved the fullness from where it was to where you need it!
Conclusion
Now that you know how to lower the bust point on a princess seam, make another muslin to test the fit. Celebrate your accomplishment by making a sassy and boobalicious shirt. You can brag about making it, knowing that it fits you in all the right places. Happy sewing!