How To Insert A Zipper In A Dress
Have you ever wanted to learn how to insert a zipper in a dress? Have you ever considered adding a zipper to any garment? There is something about the thought of a zipper that intimidates even the most seasoned sewist.
If the zipper is not positioned correctly before sewing, you could end up with a wonky non functional zipper. Some sewists bypass the process completely but you don’t have to.
I’ll show you how to insert a zipper in a dress so you can see that sewing zippers is not as frightening as imagined.
Types of Zippers
There are three common types of zippers currently on the market:
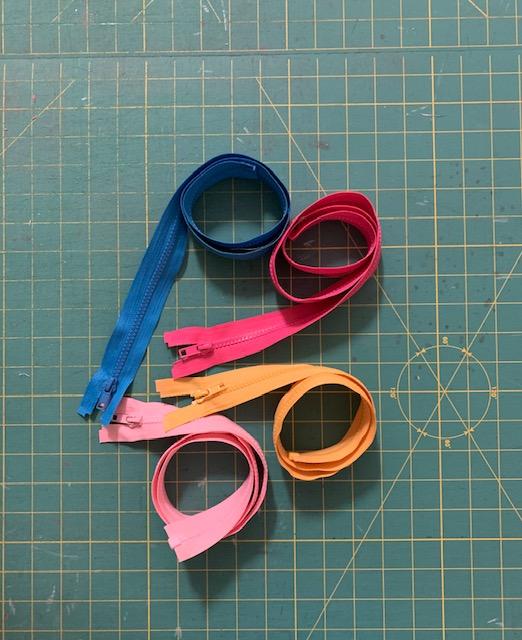
- Coiled or Nylon Zipper
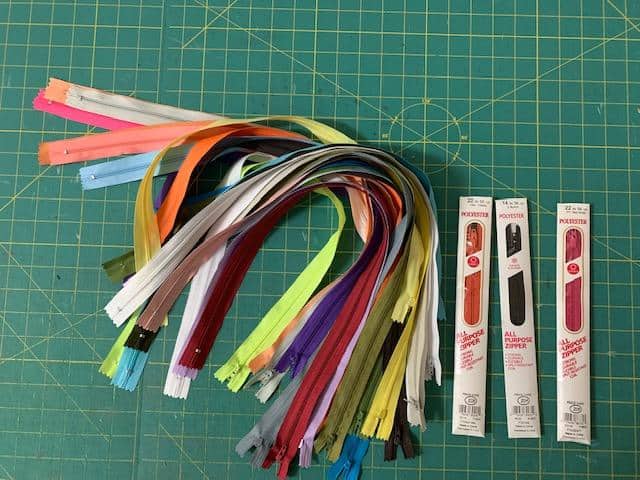
A coiled or nylon zipper is what is commonly used on skirts, pants and dresses. It is a very versatile zipper and fairs well with regular wear and washing. The nylon zipper comes in a large variety of colors and lengths and is easily shortened by hand or machine.
Additionally this zipper type is further broken down into two categories: regular and invisible. The width of the zipper tape varies by the sizing of the zipper as well as the application.
- Metal Zippers
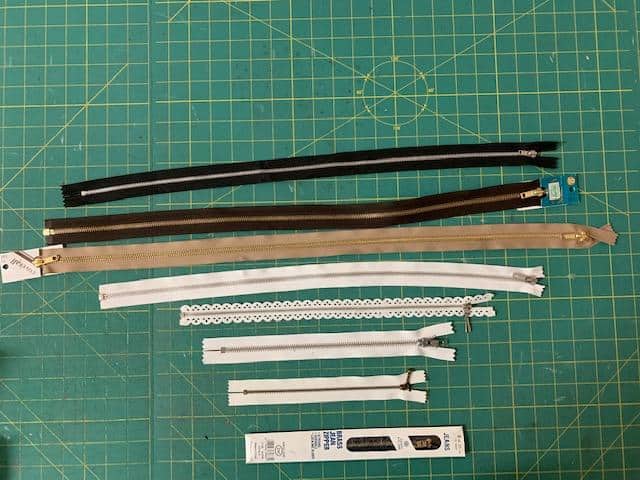
Metal zippers are typically sewn into sturdier garments like jeans or used to make bags and jackets. Metal zippers can be found in various lengths and various colors as well. They can be easily shortened with a pair of needle nose pliers and some elbow grease.
- Molded Plastic Zippers
Molded plastic zippers are typically used to sew athletic jackets and coats. These zippers are not suitable for regular garment construction.
Types of Zipper Insertion
You can insert a zipper on the front, back or side seams of any garment. If you take the time to insert a zipper, it is probably going to be a functional part of the garment but it doesn’t have to be.
Centered Zipper Insertion
The most common zipper insertion is the centered or railroad zipper. As the name implies it is centered along the seam it is being attached to with an equal amount of fabric covering the zipper tape on each side.
When inserted, the centered zipper is partially visible so it is imperative that it is done correctly for symmetry and functionality.
Lapped Zipper Insertion
Lapped zippers are commonly used on skirts and trousers but can be inserted in dresses as well. The lapped zipper technique provides a concealed zipper with the aid of additional seam allowance on the right hand side of the garment.
Read this post regarding a lapped zipper insertion.
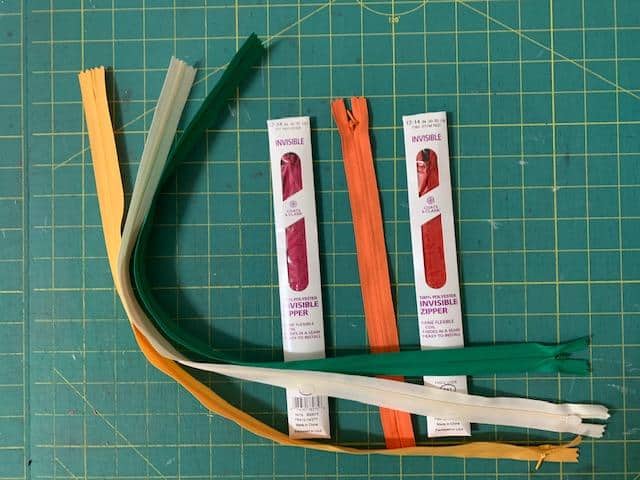
Invisible Zipper Insertion
An invisible zipper is as the name implies, invisible. An invisible zipper is usually used on dresses, skirts or pants. This zipper insertion is a little more complicated than the railroad zipper and will be addressed in another blog post.
Tools Needed To Insert A Zipper
Dress or garment to be sewn
Wash-Away tape or pins or hand sewing needle
Lightweight Fusible Interfacing (SF101)
Regular Zipper
Zipper Foot
Regular Sewing Foot
Sewing Machine
Thread
Seam Ripper
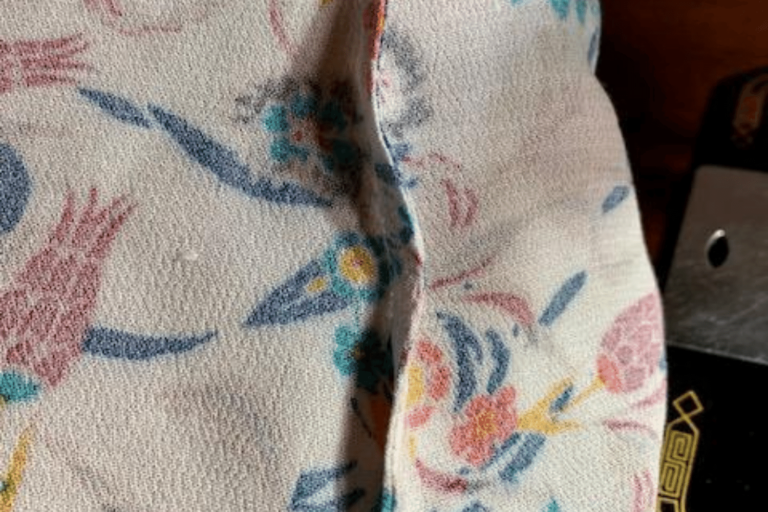
Prepare the Seams
Before you insert a zipper, you always want to stabilize the seams at the location where the zipper will be inserted.
To do this, cut a 1” strip of fusible interfacing and apply it to the wrong side of the garment with a hot dry iron. Repeat on the other side.
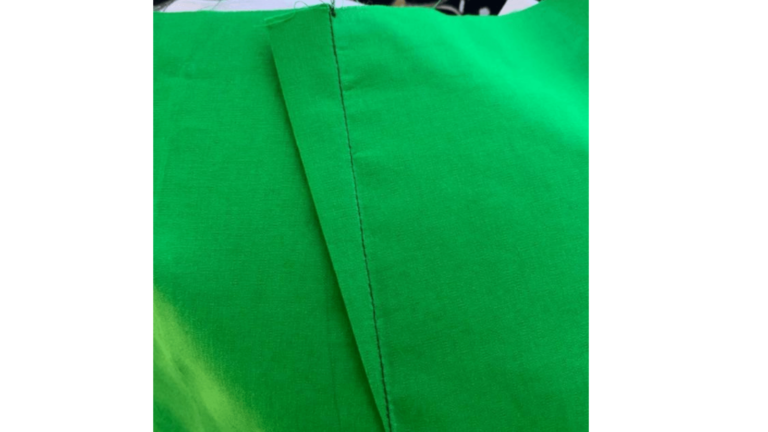
Sew Up The Seams
Once the fabric is prepared for the zipper insertion, align the seams and pin as normal. As the seam will be sewn in two parts, you will want to mark the start and stop distance for the zipper with either double pins or a different color pin.
You will temporarily baste the portion of the garment where the zipper will be inserted then sew the balance of the seam with a regular stitch length. Once complete, press the entire seam open.
Next, carefully position the zipper so that the teeth lay directly on top of the basted section only.
You can use either pins, washaway tape or hand baste the zipper in place on the wrong side of the garment. With the zipper foot attached to the sewing machine, sew the zipper to the garment with a slightly smaller stitch length (2.5mm) and right side facing up.
Carefully sew around the entire opening of the zipper creating a neat open ended rectangle.
It is very important to ensure that the edge of the zipper foot butts up against the teeth of the zipper when sewing.
A Successful Zipper Insertion
You will then rip out the basting stitches to reveal your centered and functional zipper. You can now finish working on the rest of the garment! That wasn’t so hard, was it?
If you made a mistake, no problem! That’s what the seam ripper is for. Now that you know how to insert a zipper, you might surprise yourself and be tempted to add one to everything. Just me? Ok then. 🙂