Common Seam Finishing Techniques
What are some of the common seam finishing techniques used in sewing? On ready to wear clothing, seams are finished with a serger. What if you don’t have a serger? Do you just leave the seams unfinished? No. I’ve listed some common seam finishing techniques that you can use with or without a serger.
Create Your Seam
A basic seam is created using either a straight stitch, stretch or lightening stitch for knits and zig zag stitch.
Whether you are sewing a wearable garment, an accessory or even a quilt, the technique of sewing two or more pieces of fabric together is called creating a seam. For quilt or bag making, the sewn seams are left unfinished as the seams are typically sandwiched between batting or a lining.
For garment making however, the sewn seam will need to be finished when the fabric unravels easily and the garment will be washed.
Exceptions to this rule are for knit garments. You can leave knit seams unfinished but if you want the inside of the garment to look as good as the outside, finish those seams!
Pinking – The Most Basic Of The Common Seam Finishing Techniques
Pinking the seams is by far the least expensive of the common seam finishing techniques. This technique works well on most fabric weights and requires only a pair of pinking shears.
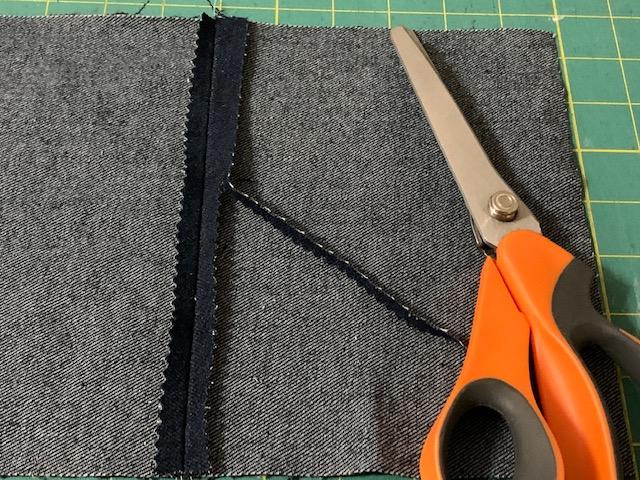
Once you sew the seam, you can either press the seam allowance open or to one side. If you press the seam open, you will just trim each side individually.
If you press the seam to one side, then you will trim both sides of the seam allowance at the same time. If your fabric is heavyweight like denim, canvas or duck cloth, the pinking shears may not cut through multiple layers at once.
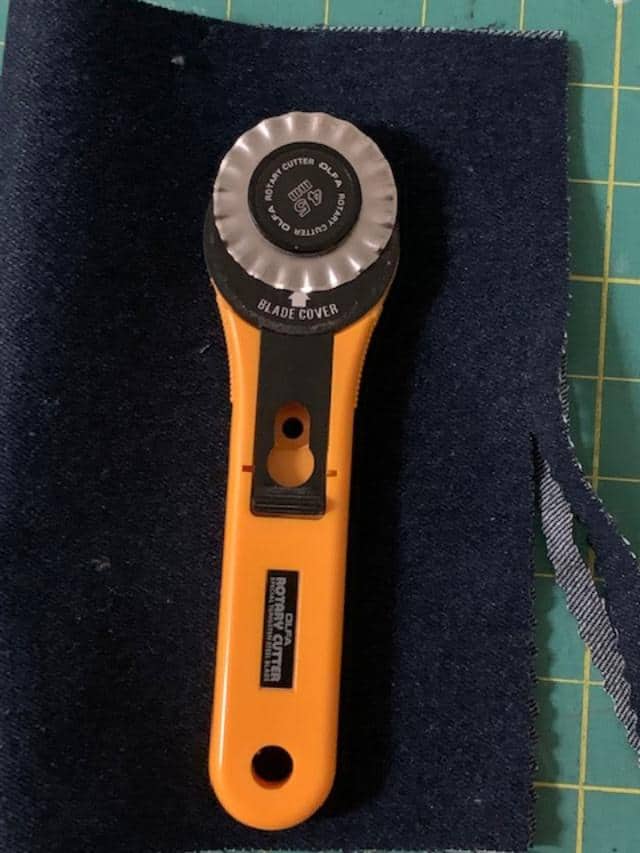
Another option is to use a pinking blade on a rotary cutter. A 45mm pinking blade will slice through multiple layers at once and save you from unnecessary hand strain.
Zig Zag Seam – The Workhorse Of The Common Seam Finishing Techniques
Using the zig zag stitch on your sewing machine is an inexpensive way to finish your seams. If you have a modern or vintage sewing machine with multiple stitches, the zig zag is one of the utility stitches that come standard on your machine.
This technique can be used before you sew and press the seam or after. After you sew the seam, press the seam allowance open or to the side in preparation to finish the seam.
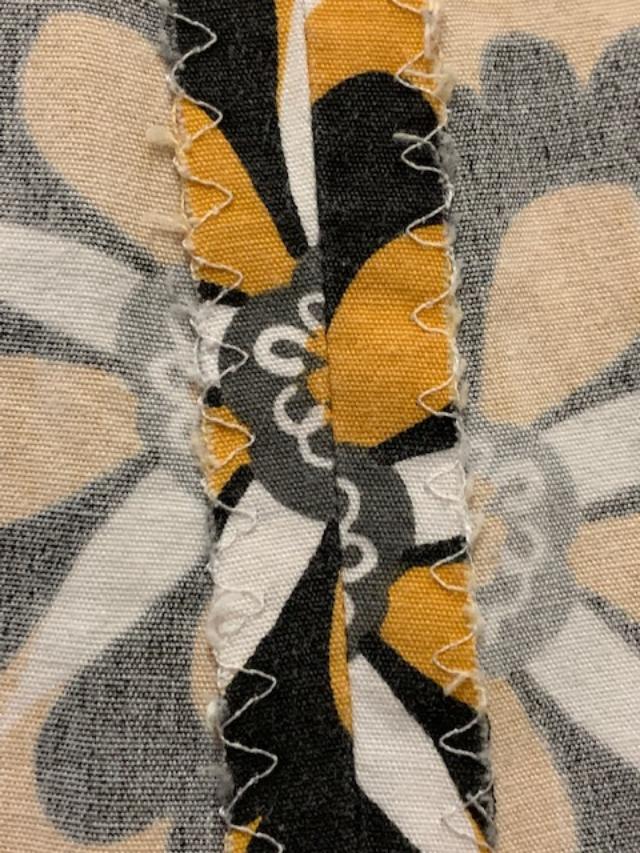
Choose the zig zag stitch on your machine and position your needle close to the edge of the seam allowance. When the needle swings from left to right, the threads from the stitch will cover enough of the edge of the fabric to minimize future unraveling.
French Seam – The Double Whammy Of The Common Seam Finishing Techniques
The french seam is another inexpensive way to finish your seams. This technique works very well on lightweight fabric that frays with just a glance.
French seams are very simple but some sewists avoid it because it means you sew the seam twice. I’ve written a detailed post on when and how to create french seams that I would love for you to check out.

The purpose of the french seam is to totally encase all raw edges using just a straight stitch and an extra large seam allowance. Suffice it to say, a french seam on the inside of a lightweight garment will not fray when washed.
Hong Kong Seam – The Fanciest Of The Common Seam Finishing Techniques
The Hong Kong seam finish is the most beautiful of the common seam finishing techniques.
This technique uses bias strips to bind all the raw seams. Typically this technique is used on medium to heavyweight fabric. Hong Kong seams can be applied to trousers, unlined jackets, skirts and dresses.
Your choice of bias strips are endless in variety but you should limit them to lightweight or medium weight fabric. The width of the strip of bias binding should be 1” -1 ½” depending on the width of your seam allowance.
The seam allowance is pressed open in preparation for the bias binding strip. Both are sewn together with right sides facing, then pressed and the excess binding is wrapped around to the back of the seam allowance.
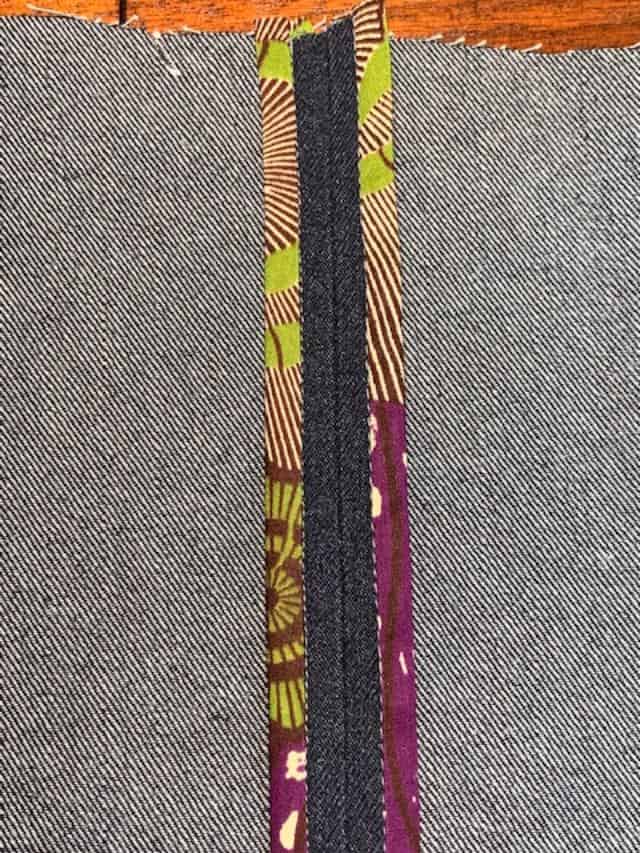
Secure the binding to the seam allowance by stitching in the ditch. Finish by trimming off the excess binding.
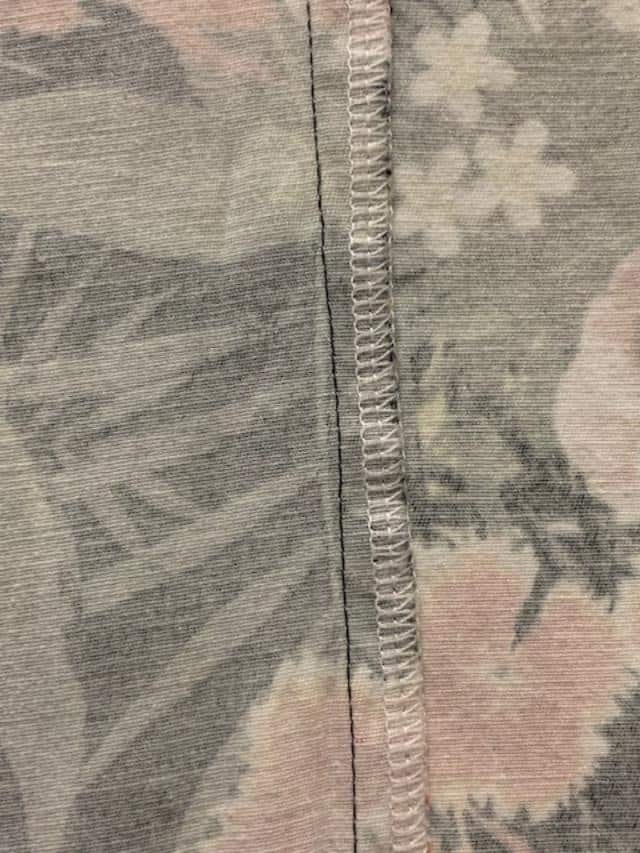
Serged Seam – The Quickest Of The Common Seam Finishing Techniques
Seams finished with a serger are standard in ready to wear clothing.
A serger can be used to sew and finish the seams simultaneously on knits. As the serger is a separate and costly machine, it is the most expensive of the common seam finishing techniques.
When sewing wovens, you have the option of finishing all the edges of your fabric prior to sewing the seam.
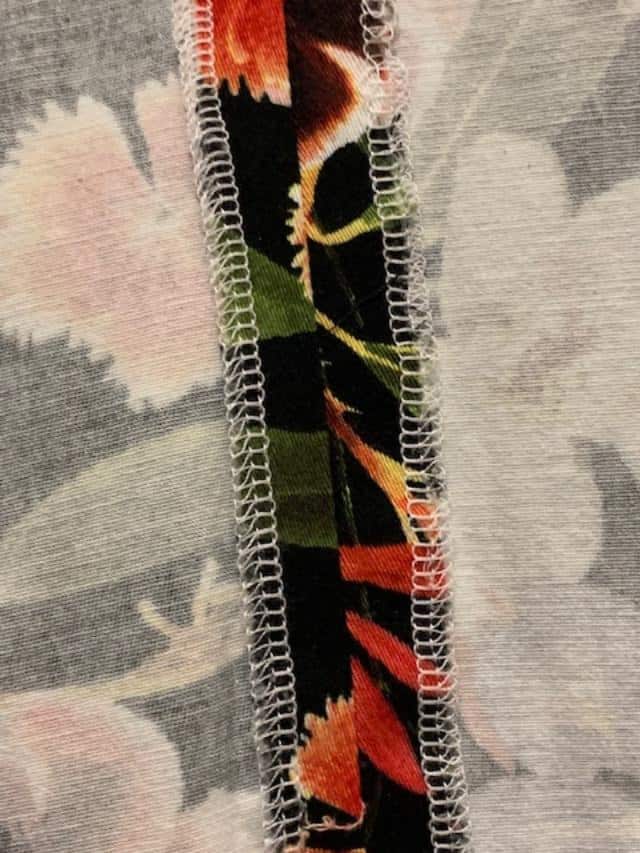
As with all the other seam finishing techniques, you can serge the seam allowance together or press them open and serge them individually.
You also have the option of trimming down the seam allowance while finishing the seams on the serger. Just be careful to not catch unwanted fabric within the seam allowance.
Conclusion
Now that you know some of the common seam finishing techniques, which one will you use first? If you have a serger, experiment with various fabrics and tension. If not, experiment with the one that suits your fabric. Make a sample book of your seam finishes. You’ll be glad you did.